How to Create and Use GIFs in Instruction
Terry VanNoy
PD Specialist
Blog
We have all seen GIFs or video animation clips in our emails, text chats, shared presentations, or documents. They are fun and draw your attention, don’t they? GIFs are available to copy and download everywhere on the internet, and no doubt you have already done it! Let’s take a look at some ways to use GIFs in your instruction that will engage your students and enhance your lessons.

Finding GIFs
To grab a GIF from someone else, do a Google search and filter it by “animated gif,” or you can add that phrase to your search term: “cat animated gif.” Click on a GIF to go to its internet location, copy the URL, then paste or insert it into your lesson. Different programs have different ways to add GIFs, you may want to check the guidelines for whatever program you are using.
For example, in Google Docs you can add a GIF by going to Insert >Image from URL >paste URL > click GIF to move and resize on page. What if you have specific ideas or needs for your GIFs? If you’re already comfortable using premade GIFs and want to take your skills to the next level, maybe it’s time to create your own! 


How to Create Your Own GIFs
How can a small animation help you demonstrate or explain something effectively? As suggested by TechSmith’s “How to Hack Learning with Animated GIFs”:
- GIFs are easier to follow than a series of still images.
- Animated GIFs are easier to create than a polished video (and have less expectations from your audience).
- GIFs play automatically.
- You can explain a process without any narration.
Creating your own short GIFs and including them in your documents and presentations can make all the difference in student engagement and comprehension. We recommend Gyazo for creating GIFs that can then be inserted into documents and presentations. Here’s how it works:
- Go to Gyazo http://gyazo.com and sign up/register for a free account.
- Download the Gyazo program to your computer.
- Open the file or program you want to demonstrate with a GIF.
- To open and start using Gyazo, double click on its icon (wherever you put it) or press Ctrl + Shift + G.
- Your Gyazo website opens in another tab and shows your GIF looping. Look in the upper right corner. You can delete it if you make a mistake, or you can copy the GIF’s web address using the Share button.
- When you start Gyazo, your screen will dim and you will click and drag to select the recording area. When you let go with your mouse, the recording begins. NOTE: with the free version, you only get seven seconds. Show what you need to show within your 7 second window and there you go! You’re a GIF creator!
- Choose “Copy direct link” then “GIF” to grab the web address:

- Now, you can insert your GIF just like you would with any other GIF.

Creating your own GIFs is easy, now that you have done your first one, but it takes practice to make good, effective ones. With seven seconds you don’t have a lot of time. Consider upgrading your Gyazo account so that you can do longer ones, or practice this process a lot!
Ideas for GIFs during instruction
Here are some more ideas and examples about using GIFs in your instruction:
- Answering a specific question: Sometimes, making a GIF is faster and easier than typing out instructions or using digital ink to work out a math problem. See what you can show in seven seconds and share the link to your GIF in an email or Google Classroom or put in the chat panel when you are doing remote/live teaching.

- Give a comparison: It is easy to create a GIF, now that you know how. How about placing two GIFs side by side to make a comparison?
- Demonstrate a process: Again, it is easier to show an animation than write out the steps, so if you need students to follow step-by-step instructions, make a GIF! Here is one to show students how to find their latest assignment in Google Classroom.


Have fun with Gyazo and making your own GIFs. Share your other ideas with us in the comments below! If you want to learn about other types of instructional technology for your classroom, try signing up for a trial of OTIS Professional Development at http://otis.teq.com. Don’t forget to email us your classroom success stories and ideas at Training@teachingThings.com.
For more tips, tricks, and tools for teaching in and out of the classroom, check out more articles on the Teq Talk blog.
We also offer virtual professional development, training, and remote learning support for educators with OTIS for educators. Explore the technology, tools, and strategies that can spark student success — no matter where teaching or learning are happening.
0 thoughts on “How to Create and Use GIFs in Instruction”
Related Articles & Other Recommended Reading
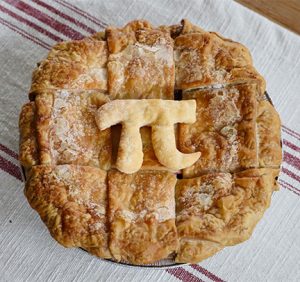
Top 10 Ways to Celebrate Pi Day
Did you know that the first official Pi Day celebration occurred in 1988 at the Exploratorium in San Francisco? In America, we celebrate on March 14th because 3.14 are the first digits of the mathematical constant known as pi. However, in areas such as the United Kingdom, people celebrate on July 22nd. Why? This is […]
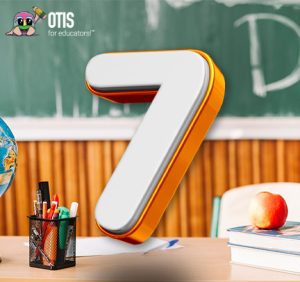
7 New PD Courses to Transform Your Classroom for February 2026
Get ready for Digital Learning Day on February 26th! Celebrate with 7 brand-new OTIS courses that make edtech integration easy. From AI-driven lesson planning to interactive classroom tools, master the tech your students love, without the steep learning curve. Here are 7 new PD courses to transform your classroom for February 2026! Check Out What’s […]

Check out our PD Micro-Credential: The Science of Reading
Earlier this year, OTIS for educators launched a PD micro-credential focused on “The Science of Reading.” This 10-part online course takes just under eight hours to complete. “The Science of Reading” micro-credential PD provides participants with a solid foundation of the tenets of reading instruction. We will delve into each component, critical for understanding the […]